
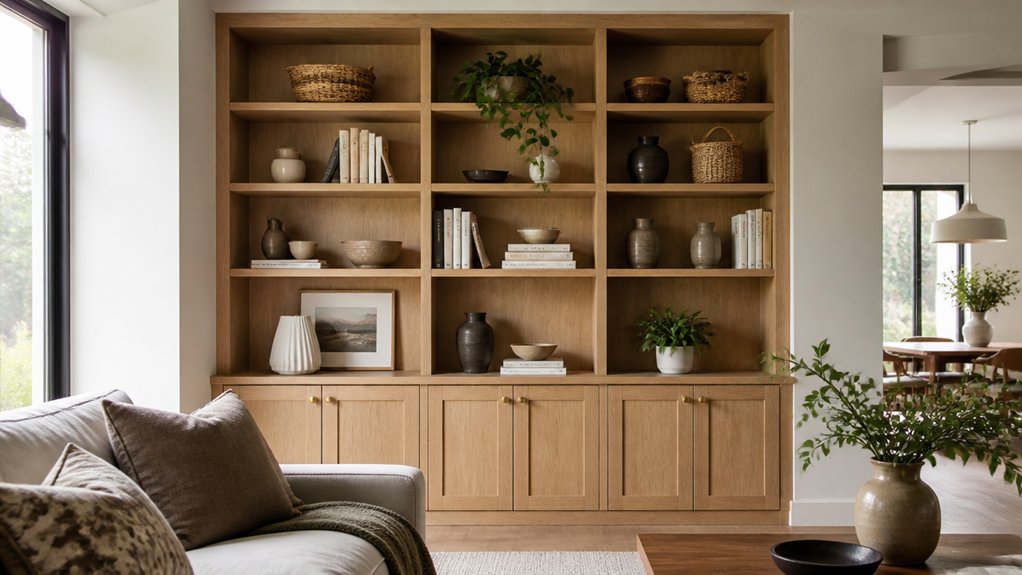
The average home contains thousands of belongings, yet poorly planned storage can leave useful space wasted. Custom shelving lets you make better use of your walls while matching your room’s style and storage needs. Start by measuring the space and deciding what each shelf must hold; your material, support, and installation choices will determine whether the finished shelves look good and stay secure.
Key Takeaways
- Measure the space, note obstacles, and plan shelf dimensions around stored items, access, and desired decorative accents.
- Choose sturdy materials and supports suited to the shelf’s load, wall type, and preferred style.
- Cut shelves to fit the narrowest measured width, sand the edges, and finish the surfaces before installation.
- Secure supports to wall studs where possible, use suitable anchors otherwise, and check each shelf for level and stability.
- Organize essentials for easy access, group smaller items in baskets, and balance decorative pieces with open space.
Plan Custom Shelves for Your Space
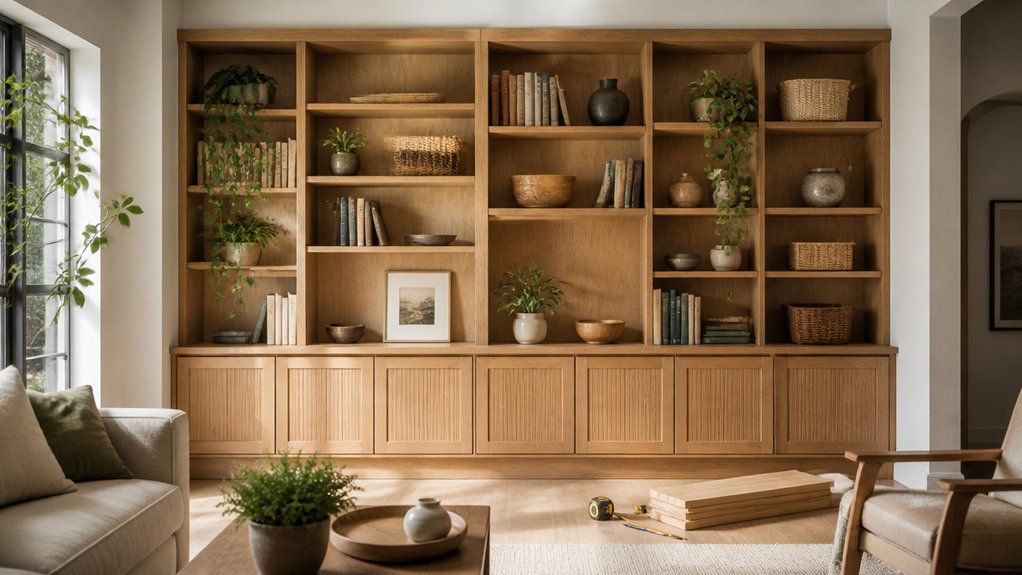
Start by measuring the space where you’ll install your shelves, noting the width, height, depth, and any obstacles such as trim, outlets, or pipes.
Then list what you plan to store, from books and baskets to display pieces. Measure larger items so you can set practical shelf spacing and avoid wasted room.
Consider how you’ll reach each shelf, especially in high or narrow areas, and leave enough clearance for doors, drawers, and nearby furniture.
Sketch a simple layout with shelf locations and dimensions; this helps you spot awkward gaps before you begin.
Plan where decorative accents will sit without crowding everyday items. Also allow room to dust and reach corners, making shelf maintenance easier.
A clear plan keeps your shelving useful, balanced, and suited to your space.
Choose Custom Shelf Materials and Supports
Once your layout is set, choose shelf materials and supports that suit both the load and the room. Solid wood offers strength and a warm look, while plywood provides stability at a lower cost. For a clean, modern finish, consider medium-density fiberboard, but keep it away from damp areas unless you seal it well.
Match material thickness and support spacing to the weight you’ll store; books and cookware need sturdier construction than lightweight décor.
Choose brackets, cleats, or a concealed mounting system based on your wall type and desired style. Alternative support options, such as metal rods or adjustable standards, can add flexibility or visual interest.
Check that anchors suit your wall and expected load. Finish exposed edges, then use paint, stain, or clear coat as Decorative finishing to protect the surface and complement your room.
Measure and Cut Shelves to Fit
Accurate measurements help your shelves fit cleanly and sit securely. Measure the inside width of each opening at the front, middle, and back; walls and cabinets aren’t always square. Use the smallest measurement, then subtract the clearance your chosen supports require.
If you’ll use decorative brackets, account for their placement and any overhang before deciding shelf length.
Measure shelf depth from the wall or back panel to the desired front edge, checking for doors, trim, and nearby obstacles. Mark each cut line with a square, and label pieces by location so they won’t get mixed up.
Support the board on a stable work surface, secure it, and cut just outside the line. Sand edges smooth, test each shelf in its opening, and complete shelf finishing before installation.
Find Wall Studs and Install Shelves
Before mounting shelves, locate the wall studs so you can anchor the supports securely. Run a stud finder across the wall, mark each stud’s center, and confirm positions with a small pilot hole.
If your layout doesn’t align with the studs, use heavy-duty wall anchors rated for your shelf’s expected load.
Choose mounting techniques that suit your shelf design and wall type. Keep a level handy, and follow these steps:
- Hold each bracket against the wall, align it with a stud, and mark the screw holes.
- Drill pilot holes, then fasten brackets with screws long enough to penetrate the studs.
- Set the shelf on the supports, check that it’s level, and secure it as directed.
Check the hardware’s weight capacity before loading the shelf; sturdy anchors and careful installation help prevent sagging or failure.
Organize and Style Your Shelves
With the shelves securely installed, arrange items by purpose and frequency of use: keep everyday essentials within easy reach and less-used pieces higher up. Group similar belongings so you can find what you need quickly, and leave some open space to prevent a crowded look.
Use baskets, bins, and labeled containers as Storage accessories to corral small items and keep shelves tidy. Choose containers that fit your shelf depth and suit the room’s style.
Add Decorative accents, such as framed photos, plants, or pottery, to bring personality without sacrificing function. Vary heights and shapes for visual balance, but avoid blocking frequently used items.
Step back and adjust the arrangement until it feels both practical and cohesive. Reassess your shelves as your needs change, moving items to maintain easy access and order.
Leave a Reply